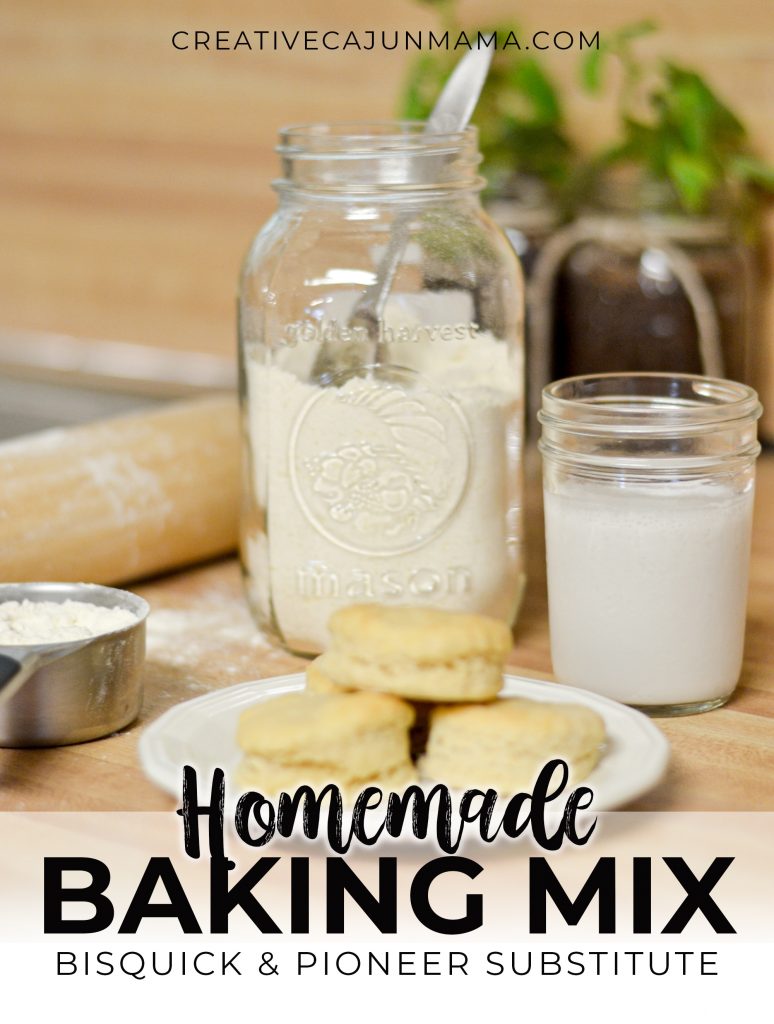
As I’ve slowly switched to cooking everything from scratch and making real food for my family, I discovered that you really can make everything from the basics in your pantry – including baking mix.
But why go through the trouble? Can’t I just buy it already made?
Well of course you can! But, there’s a few differences you may want more than convenience:
- Tastes so much fresher.
- Healthier for you.
- Much cheaper in the long run.
- Doesn’t take as long as you think (especially once you get the hang of it).
…and so much love and care comes from deep within something you’ve made from scratch 🙂
We’re pretty spoiled now. Our food at home is so fresh and delicious, it’s hard to beat anywhere else. And it’s really hard to cheat when I know it’s so easy to make.

JUMP TO RECIPE
The question I get asked the most is, “How do you have time to do that?” And my answer is always, “Depends on what you want to spend your time on.” Watching an extra hour of TV, or making fresh food so my family is healthier? Playing on my phone for an extra 30 minutes, or meal prep snacks/lunches for the week?
This doesn’t mean I never get to do those other things, because in reality, I do have time to do those things later since the most important things were done first. The bonus is not feeling guilty later for not getting those more important things done. Which then, can spiral down over and over into depressing thoughts about the things I should’ve been doing instead, more money spent on eating out, etc. I know this, because it does happen sometimes and has happened to me a lot in the past.
It all boils down to time management.
It doesn’t really take up that much more time. Really.
For example, this baking mix takes me under 10 minutes to make. Because once you make it so many times, you memorize the 4 ingredients and measurements.
Let’s talk about the cost. You may pay a little more upfront for real food, but you always get WAY MORE for your money, which also means it stretches further. And I’m all about stretching. For the amount of high-quality biscuits I get in a can or frozen, I can get two or three times more if I make it from scratch. This is great for bigger families and saves more money in the long run, minus the added chemicals and preservatives… and THAT’s a PLUS.
Take dry beans for example. One can of already cooked beans is $1. You can also buy 1 lb of dry beans for $1, cook them in the instant pot for 30 min, and now you have like 8 cans of cooked beans. You just turned $1 into $8. No preservatives, no additives.
You may pay around $10 for all of the high-quality ingredients to make this baking mix, but it’s enough to make 4 batches, and then still have flour, baking powder, and salt leftover for a few more batches. The only thing you’d need more of is butter. And when I run out of butter, I use refined coconut oil (tasteless) that I already have on hand. Sometimes I use half butter and half coconut oil to save on my butter. Please use Aluminum-free baking powder.
Like I mentioned in The Story Behind Healthier Ingredients post, making real food for my family didn’t start overnight. It was one thing at a time, mastering that ONE thing, and then moving on to something else later.
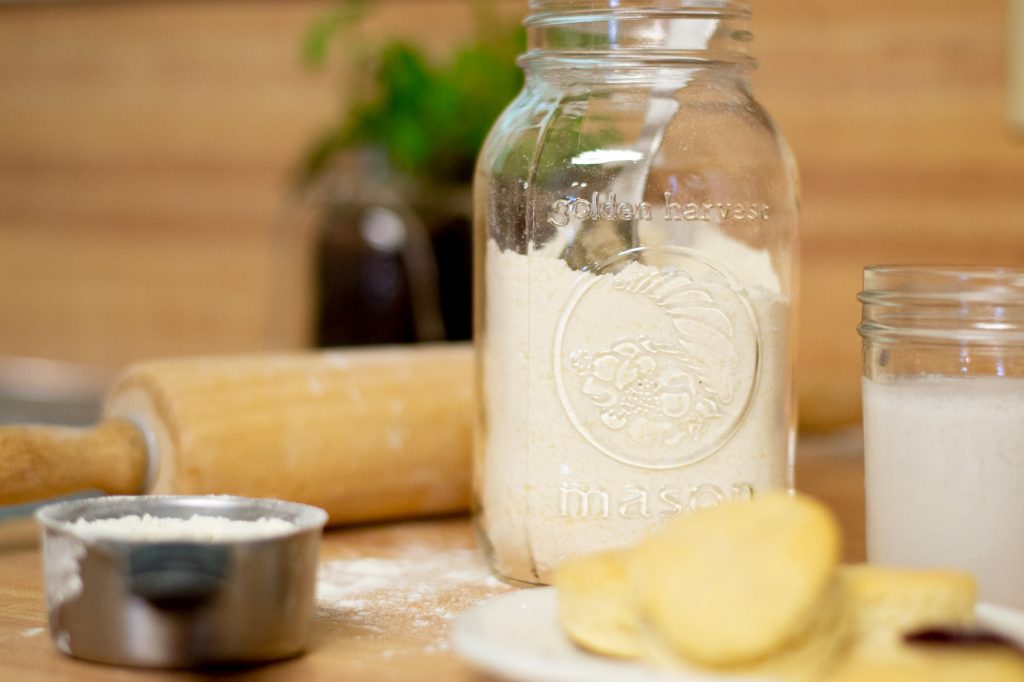
Let this homemade baking mix be the ONE thing you master and memorize this week! You’ll never have to buy baking mix again. If you keep flour, real butter, salt, and baking powder in your pantry on a regular basis, you’ll always have everything you need to make it!
*** IMPORTANT TIPS ***
Make sure your baking powder is good. I’ve had a bad one before, and the biscuits didn’t rise. The baking powder was not expired, but it was sort of hard and clumpy. Baking powder should not be hard and clumpy, so that’s a sure sign that it’s probably not good.
Using this entire batch will make almost 2 dozen 4-inch pancakes or 2 dozen biscuits. I find it helpful to make a batch like this, use half and save half. If you have a larger family and you want leftovers to save, you’ll need to double it and save half. Keep in the fridge for up to 3 months.
This can be made DAIRY-FREE by substituting the butter with cold, refined coconut oil, and substituting the milk with any nut milk.
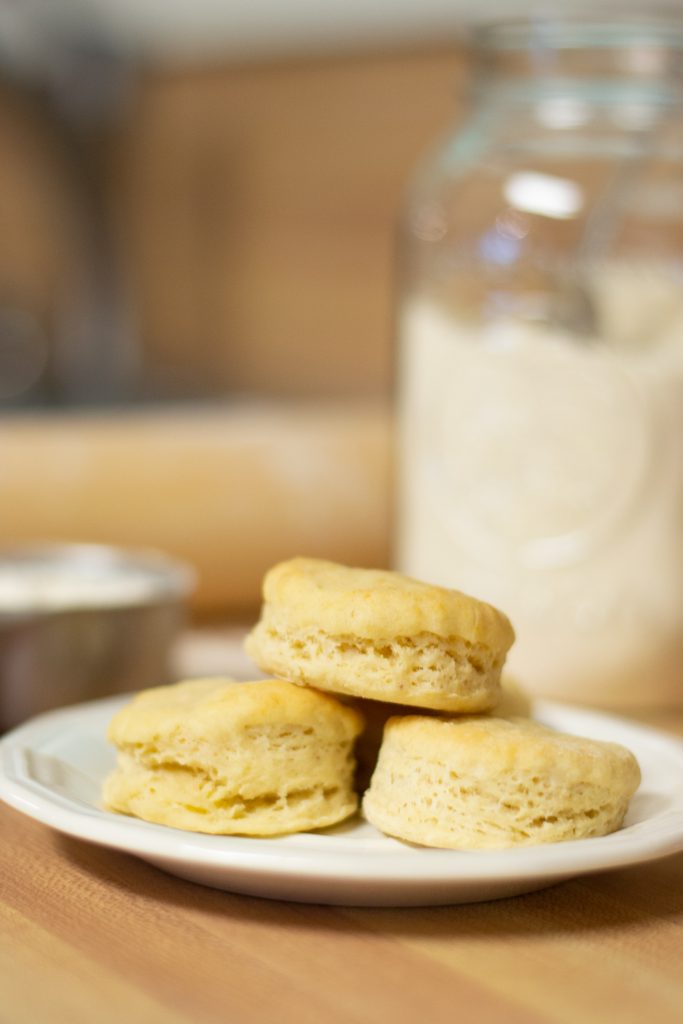
I usually make smaller-sized biscuits, cut out with the end of a regular sized mason jar.
A great idea is to cook the entire batch of pancakes or biscuits and freeze them for easy mornings before work or school!
STEP-BY-STEP DIRECTIONS
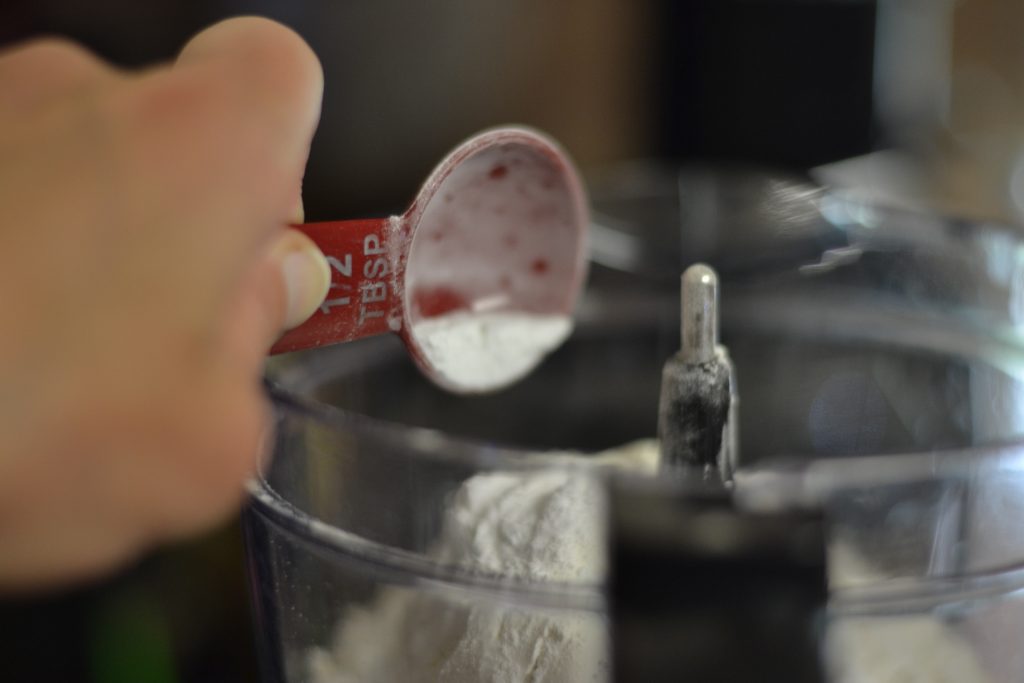
Use either a stand mixer with paddle or whisk attachment, or a blender/food processor.
Add flour, salt, and baking powder, and blend until mixed.
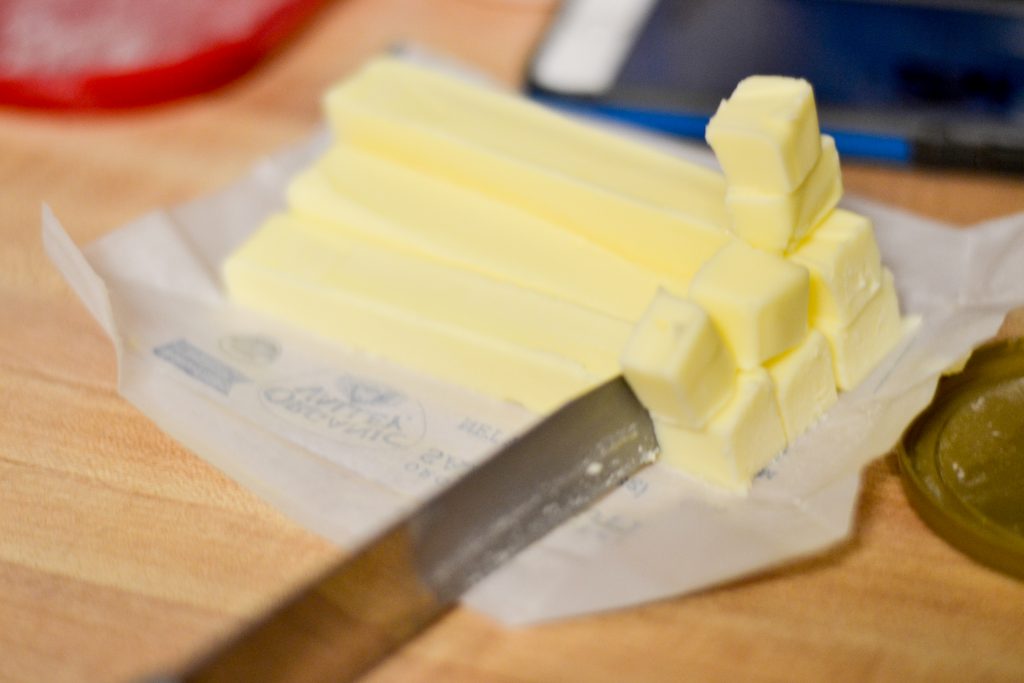
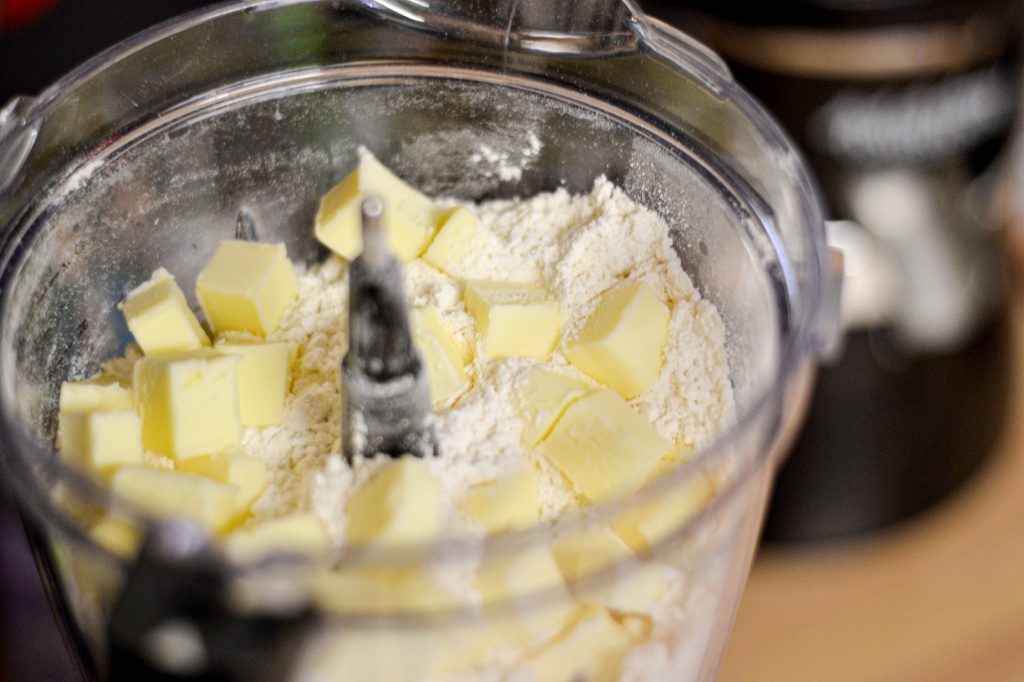
Add cubed butter, and pulse or blend until crumbly and mixed. Scrape down sides as needed.
I ABSOLUTELY LOVE my Ninja for this!
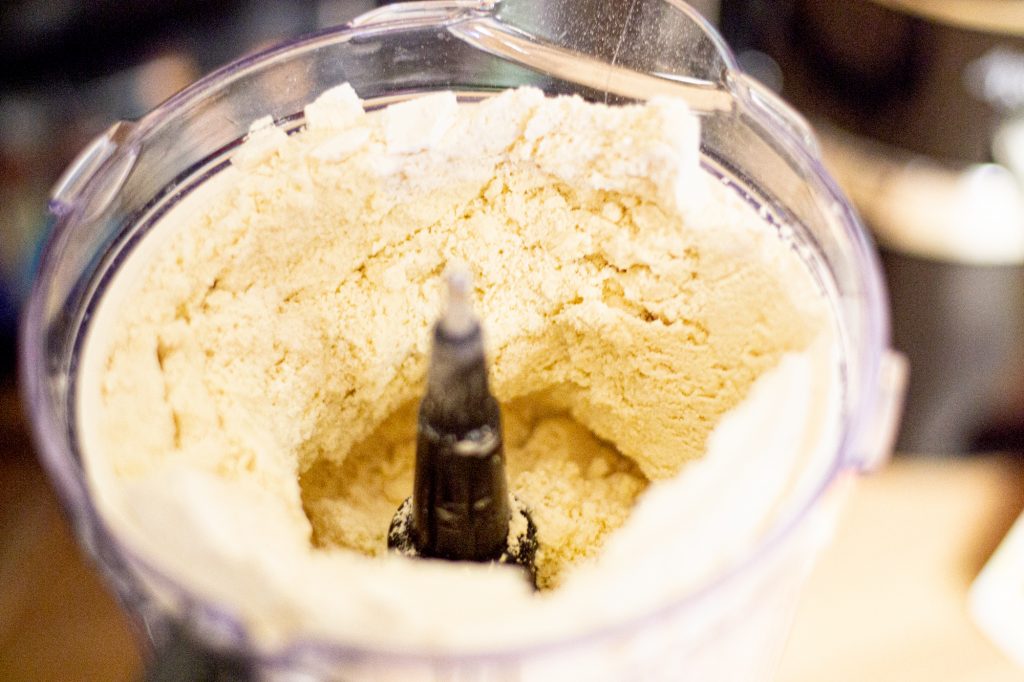
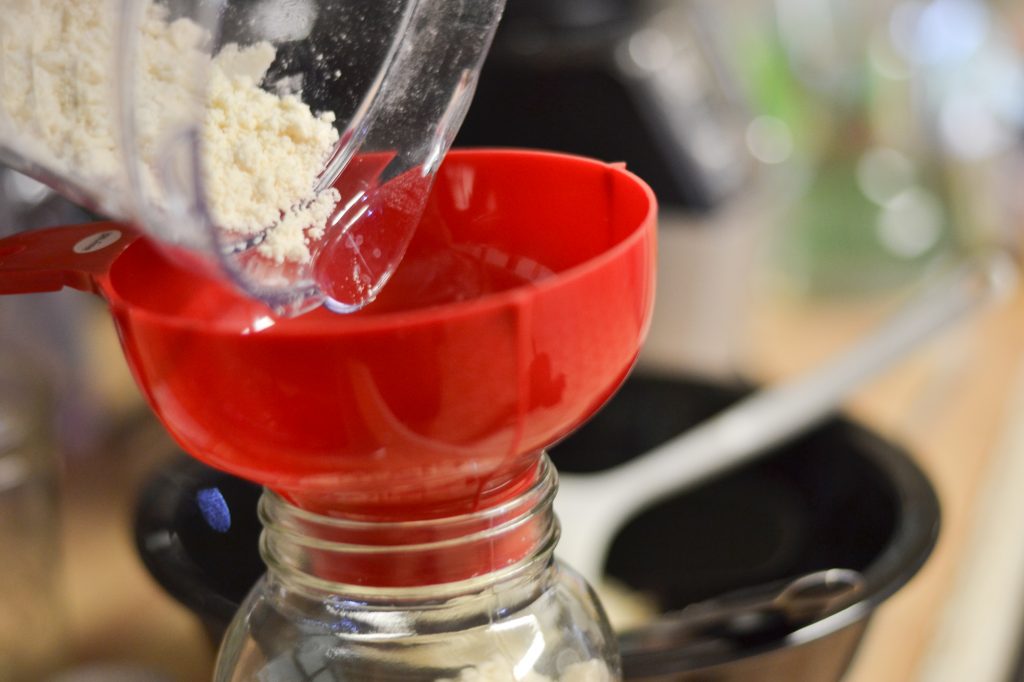
Store in air-tight container in fridge for up to 3 months or frozen up to 6 months.
Ingredients
- 3 cups all-purpose flour
- ½ TBsp salt
- 1 1/2 TBsp baking powder
- ½ cup (1 stick) very cold butter, cut into tiny cubes
Instructions
- Use either a stand mixer with paddle or whisk attachment, or a blender/food processor.
- Add flour, salt, and baking powder, and blend until mixed.
- Add cubed butter, and pulse or blend until crumbly and mixed. Scrape down sides as needed.
- Store in air-tight container in fridge for up to 3 months or frozen up to 6 months.
Notes
DOUBLED::: 6 cups flour, 3 TBsp Baking Powder, 1 TBsp Salt, 1 cup (2 sticks) real Butter
Classic Bisquick Recipes
This can be made DAIRY-FREE by substituting the butter with cold, refined coconut oil, and substituting the milk with any nut milk.
Use in recipes just as you would with store-bought versions like Bisquick or Pioneer Baking Mixes.
>> PANCAKES
Standard Recipe Size
- 2 cups baking mix
- 2 eggs
- 1 cup milk
Larger Recipe Size (using the whole batch)
- 4 cups baking mix
- 4 eggs
- 2 cups milk (or 1 can evaporated milk + 1/2 cup water)
>> BISCUITS
- 1 1/2 cups baking mix
- 1/2 cup milk
**DO NOT OVERMIX BISCUIT DOUGH**
Roll out dough to about 1/2″ thick and cut into desired shape with the end of a cup or other shape.
Bake at 450 F for about 8 minutes.



 This is NOT Really What Homeschooling is Like
Oooh thanks for sharing the recipe. Can’t wait to try this out.
You’re welcome! 🙂