I’ve been using this homemade toothpaste for about 2 years now, maybe longer. It keeps my teeth bright and white and keeps us away from the toxic ingredient fluoride.
I’m amazed at the number of people that I talk to who do not know about fluoride. This post and video will help to clear things up for you.
Just recently, we took the extra step and bought a Berkey water filter, which is one of the only water filters out there that will remove the fluoride from your water. The filters will also last us about 6 years. *Please note that only specific sellers are authorized to sell Berkey on Amazon in order to receive customer service benefits from Berkey. If you would like to purchase a Berkey filter, please use the link posted above.
We get enough exposure to toxins in our food sources, environment, and God only knows where else. I don’t want to also give myself (and my family!) a daily dose of toxins through my toothpaste. Fluoride is a KNOWN neurotoxin and endocrine disruptor (a.k.a. hormone disruptor). That’s your hormones people! We’re talking fertility (male and female), thyroid, pancreas, and developmental stages for our children! You can also read the actual government documents and reports about that here on the government website. The evidence is out there. They just haven’t informed the public yet about how wrong they have been for the past 70 years – go figure. On that website, you can also search anything else that may interest you, and read in detail about clinical trials for certain things.
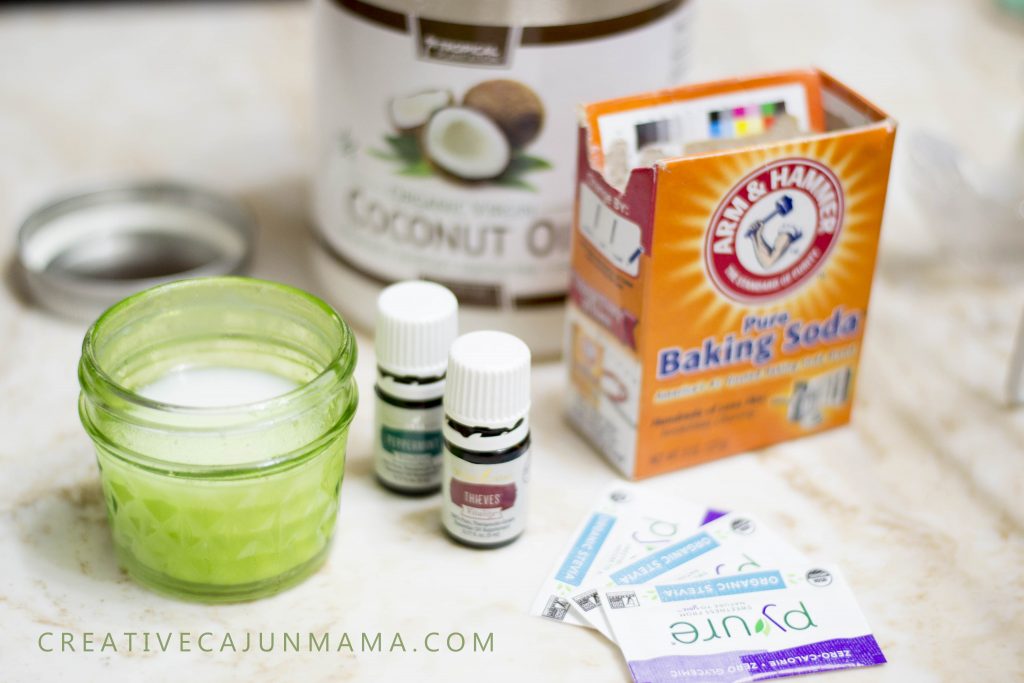
Homemade toothpaste uses only 4 ingredients, and I’ll also explain what they’re for:
- Baking Soda – cleaning agent, whitener, gentle abrasive
- Coconut Oil – anti-viral, anti-bacterial, and I don’t have enough room for the rest. Read more about that in detail here.
- Essential Oil – anti-microbial, anti-bacterial, anti-viral, for flavor, many other health benefits and uses as well.
- Stevia, Xylitol, or Erythritol – (optional) natural sweetener, combats the saltiness of the baking soda. You will definitely want to sweeten your homemade toothpaste. NEVER use any other kind of sweetener, such as Splenda.
When you think of commercial toothpaste, you usually imagine foamy, minty, and sweet. If you want to be able to continue to use your homemade toothpaste with ease, you must also realize that this will not be like any commercial toothpaste you’ve used. Let’s remember something – we’re trying to avoid toxic chemicals here. You will only be brushing your teeth for about 3 minutes in the morning and evening, and sometimes in-between. Some people have said that they can’t bear the taste of the homemade toothpaste, and that’s so unfortunate. Toothpaste does not need to taste like candy – we’re not eating it.
Personally, I love it. Many other people that I’ve helped use homemade toothpaste also love it. Once you get started with it, more than likely you will not go back to commercial. It keeps your teeth very white and feeling so clean. My husband does not like the taste of it, and does not use it, but he uses other fluoride-free varieties. Dr. Bronner’s peppermint is his favorite. It tastes like the Extra Peppermint flavor gum. My kids are okay with the homemade, and it has kept their teeth a lot healthier than other toothpastes have in the past. They went from having cavities at every dental visit, to having practically no cavities to very little cavities. I was shocked! Every one of my personal dental visits ends with my dentist telling me how beautiful and well-taken-care-of my teeth are. He’s happy, and so am I!


I ran out of my homemade toothpaste a few weeks ago and used the other fluoride-free toothpastes we have in our house. Within a few days, I noticed my teeth weren’t as white. They also didn’t feel as clean. If you need to whiten your teeth with a whitening solution, check out my post about how I whiten my teeth naturally, using only 2 ingredients from your kitchen…
I do recommend storing this homemade toothpaste in a glass container or jar. The reason is because essential oils will eventually escape through plastic or anything porous, and depending upon the plastic, it may eventually eat up the plastic. Darker glass containers hold the effectiveness of essential oils, and will protect from the damages of UV light. You can reuse small glass jars that you’ve used in your kitchen, such as a pine nuts jar I’ve used for a long time. I found this pretty little green one above at World Market. Before that, I’ve always used what I had on hand as this will save you a few dollars.
When traveling: If your container is not air-tight, the coconut oil may melt out of your jar into your suitcase if your are traveling at 76°F or higher temperatures. I transfer a little of the toothpaste to a small Tupperware container (BPA-free) when I travel. Even the cheap Ziploc containers won’t always hold in the melted coconut oil. A really bad spill happened to us when we moved to our new house.
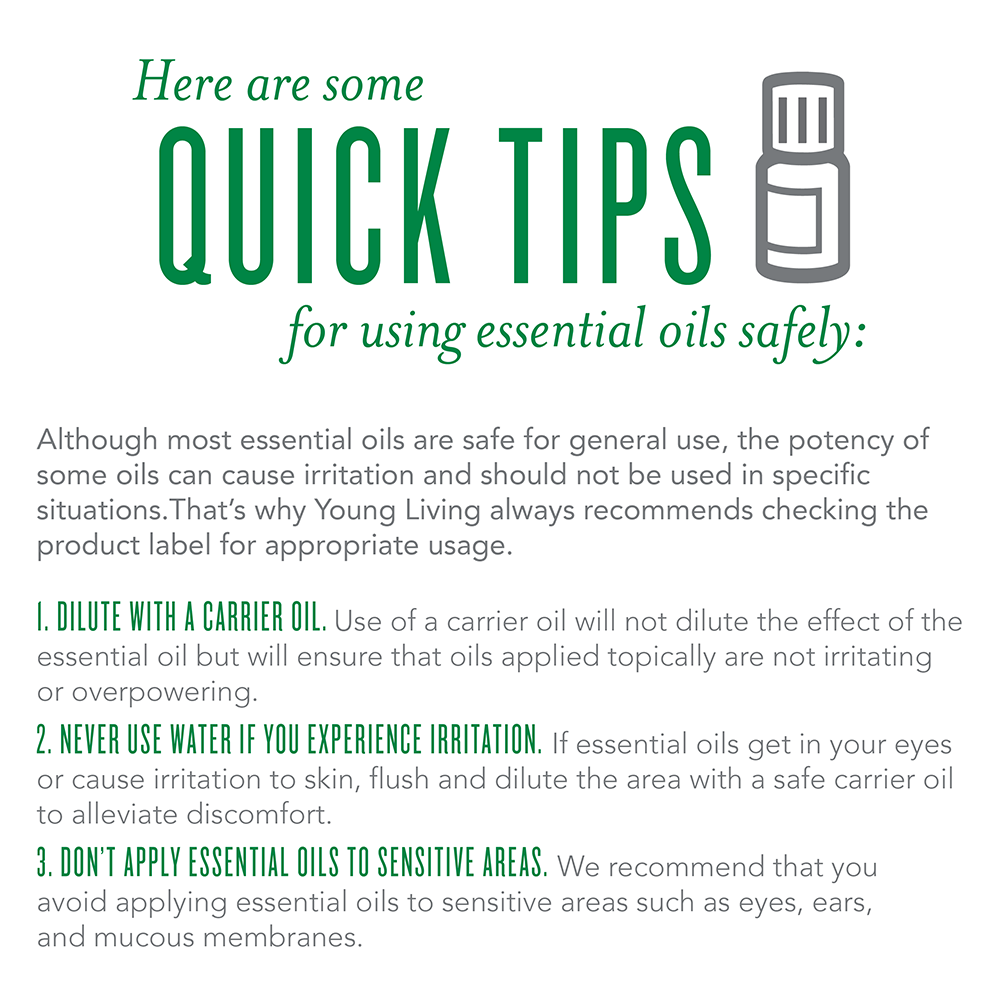
Something I HIGHLY recommend that you invest in, is essential oils. They have so many uses, and you will definitely get your money’s worth. It may be costly to make your first essential oils purchase, but in the long run, you will save a ton of money – make your own household cleaners, deodorant, creams, etc. – all of which I will share later. I am a Young Living distributor, and it is a great company of integrity. Not all essential oils are created equal, and Young Living is a company you can trust. If you are at all interested in hosting an essential oils class or would like more information, please feel free to contact me here or on Facebook and I’ll be happy to help you.

If you would like to become a Young Living member or retail customer, use my referral link here to take you straight to the sign-up page. As a member, you receive 24% off all purchases, and you can share your passion with others while earning rewards.
My favorite essential oils to use for toothpaste are Young Living Thieves and Peppermint.
Thieves has a cinnamon-like flavor and aroma, and Peppermint is peppermint! When using Young Living oils, there is a basic rule of thumb that is based on volume. For every tablespoon of oil or whatever you are adding it to, you only need ONE drop of essential oil. One drop! Goes to show you what an investment you make with essential oils.
I like to mix all my ingredients in a separate bowl so that my mess isn’t all over the storage jar.
Keep scrolling to view the printable recipe.
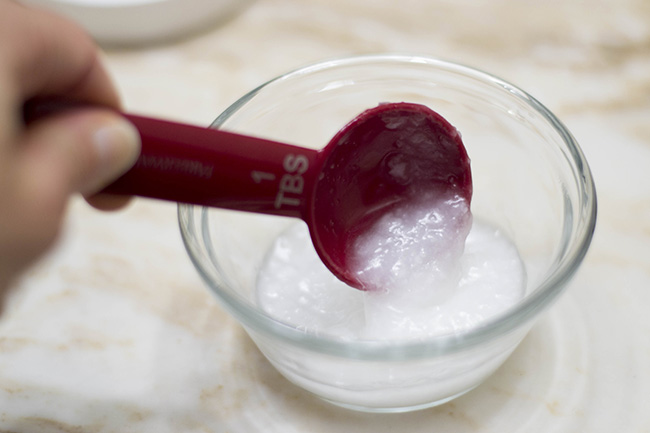
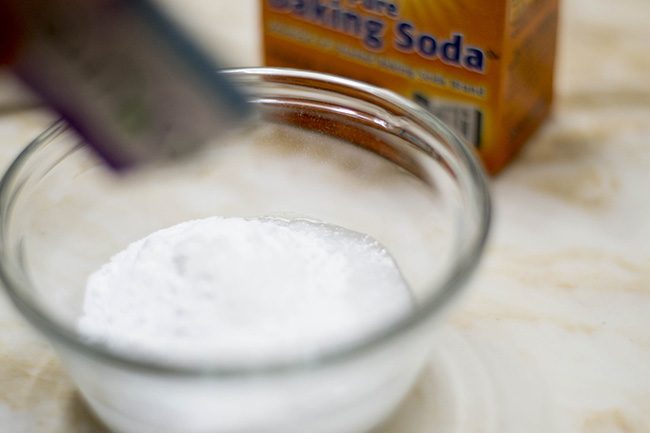
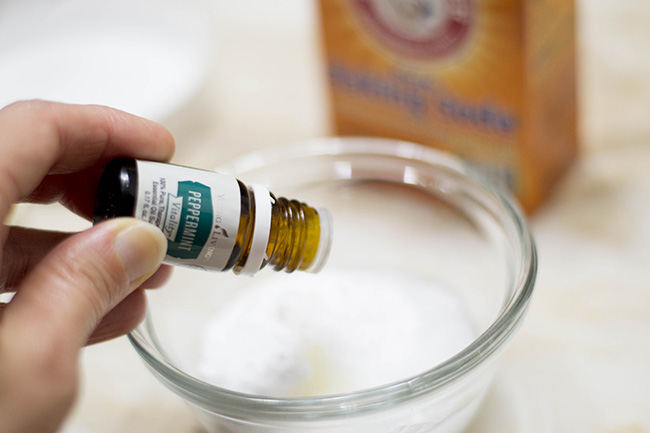

You may need more or less baking soda or coconut oil depending on your climate. Since we have a warm-HOT climate here in South Louisiana, I tend to use a little less coconut oil or a little more baking soda to thicken it up.
I basically dip my dry toothbrush right into the toothpaste. Remember, your essential oils are killing all the bacteria; therefore, there will not be, and there has never been any bacterial growth in my toothpaste!
** In order to PRINT from the “Print” link below, this page must be open in an internet browser such as Safari or Firefox. It may not print if opened in Instagram or Facebook.
Ingredients
- 3 TBsp Baking Soda
- 3 TBsp Extra Virgin Coconut Oil
- 6 drops Essential Oil
- 3 Packets Stevia
Instructions
- Mix all ingredients together really well until it forms a paste.
- Store in a glass jar.
Notes
You may need more or less baking soda or coconut oil depending on your climate. Since we have a warm-HOT climate, I tend to use a little less coconut oil.
