I know the title of this recipe is an “opinion,” but it really is a reliable one! I had quite a few people asking for this recipe, so I definitely want to share the wealth.
These rolls are slightly sweet, slightly yeasty, and fluffy. They’re not like “cafeteria” rolls (which I am NOT against by the way… and I DO love by the way); I just wanted to give you an idea of what they’re like. They could almost melt in your mouth, and they have a soft outer crusting as it is not crusty crust. You can make them as airy and as dense as you’d like – rise them longer for more airy, and rise them less for more dense.
Making bread is actually very simple, and you probably already have most of the ingredients. Mixing up the dough ingredients only takes about 10-15 minutes once you get the hang of it, but they do need time to rise, which could take anywhere from 1 to 2 hours.
This recipe was sent to me by my uncle who calls his bread rolls “Little Puffs of Heaven,” and he said that it was a similar recipe. So, I don’t think it’s the exact one, but I’ve changed up a few things, substituting healthier ingredients, and making the instructions more simple with less steps.
I made a mistake baking them the other day, so I will tell all about that here, what to do, and what to avoid as well!
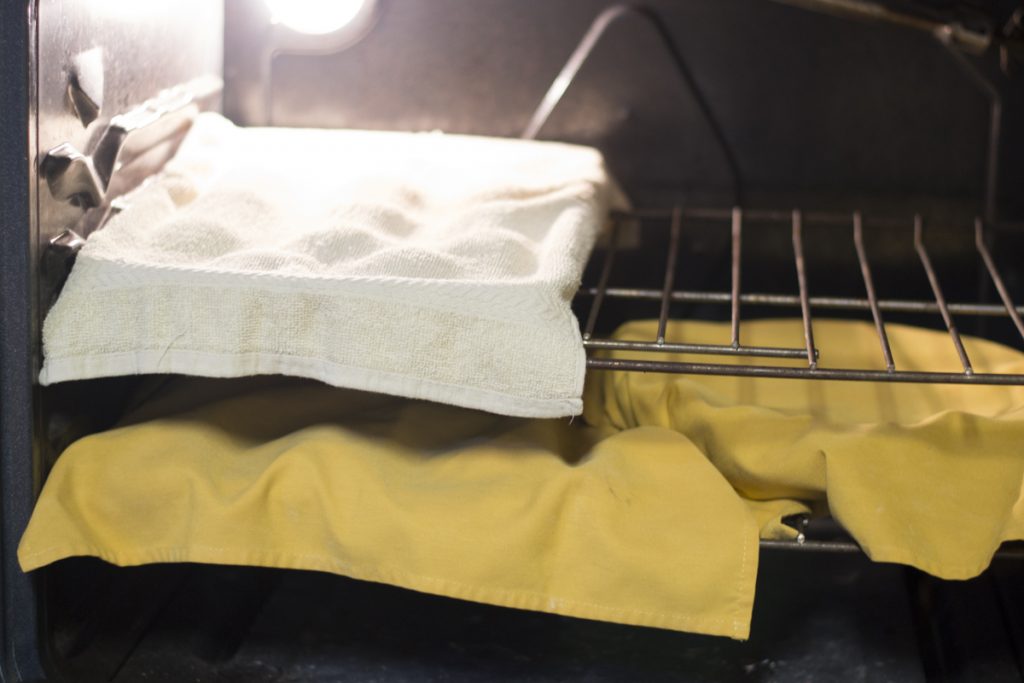
Recently, I learned how to make them rise faster: Turn my oven on warm for just a minute, and then turn it off, keeping the oven light on. I also ONLY use stoneware to bake my rolls, which will give the best results (in my opinion).
*Printable recipe below*
A few tips before we get started:
- Make sure the yeast is not expired
- Do not overheat the yeast (do not microwave)
- Doing a yeast-proof test before starting will ensure the bread will rise (even if the yeast is expired)
- If your “proof” does not bubble, your yeast will not work for this recipe. Get some new yeast!
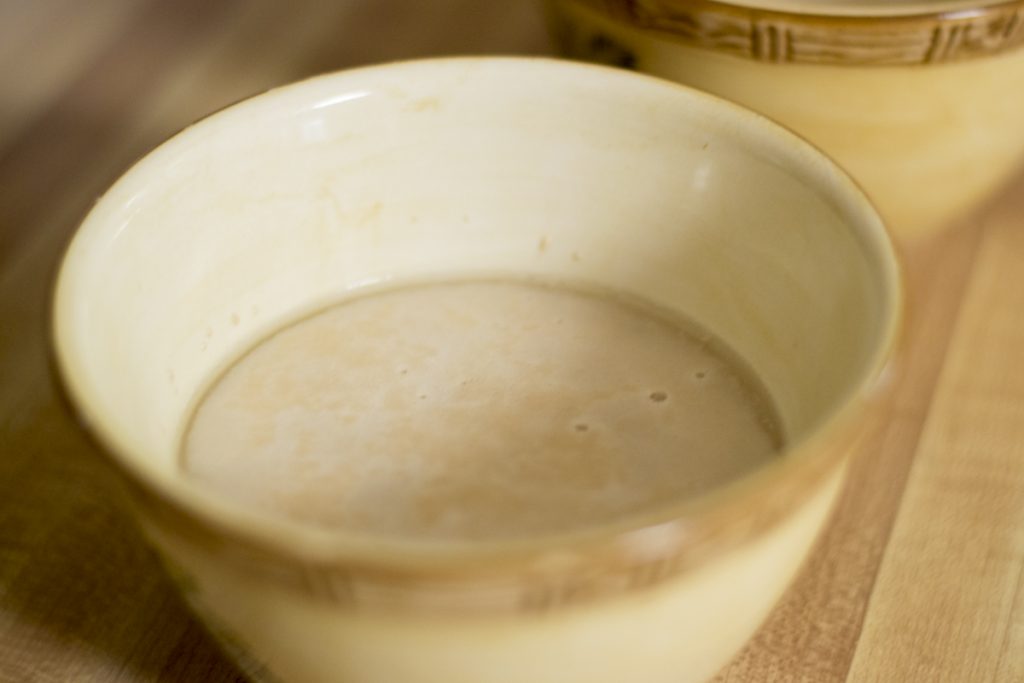
First, in a glass bowl, blend together the yeast and tsp organic sugar (or honey), and add the warm water with a little stir. One time (when we used to use a microwave), my water wasn’t warm enough, so I put the water and yeast mixture into the microwave to heat it up a little. DON’T do that!! It kills the yeast. Needless to say, I had a party of guests coming, and I ended up with tiny, un-risen, hard, bread rolls. Fail. The best thing is to get the water warm enough so that it almost burns your finger when you hold your finger under the water, but doesn’t burn your finger. You want it really warm, but not hot. If it’s not warm enough, the yeast will take longer to bubble. It usually takes about 10 minutes for it to start bubbling really good. This is called “proofing.”
Let this mixture sit there while mixing together the other ingredients.
Now, melt the butter (or coconut oil) on the stove (about 5 minutes), turn off heat, and mix 1 cup of room temp water into the butter.
In the mixer with the paddle attachment, mix together the eggs, 1/2 cup of sugar (or honey), and salt.
Add to the mixer – the butter and water mixture, and the yeast mixture (that should be bubbly and rising).
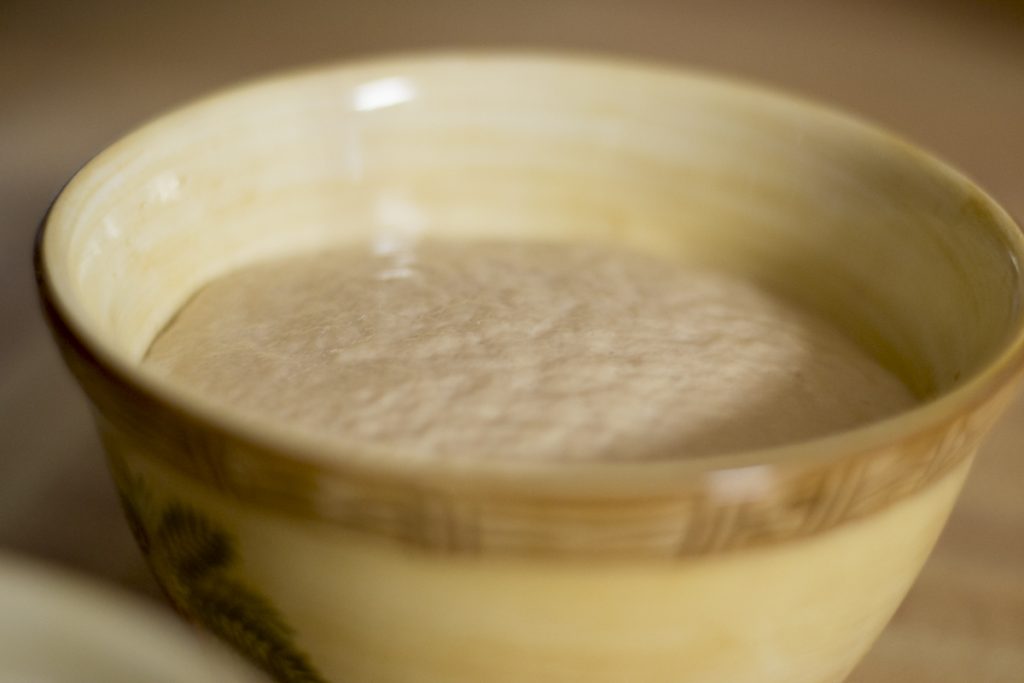
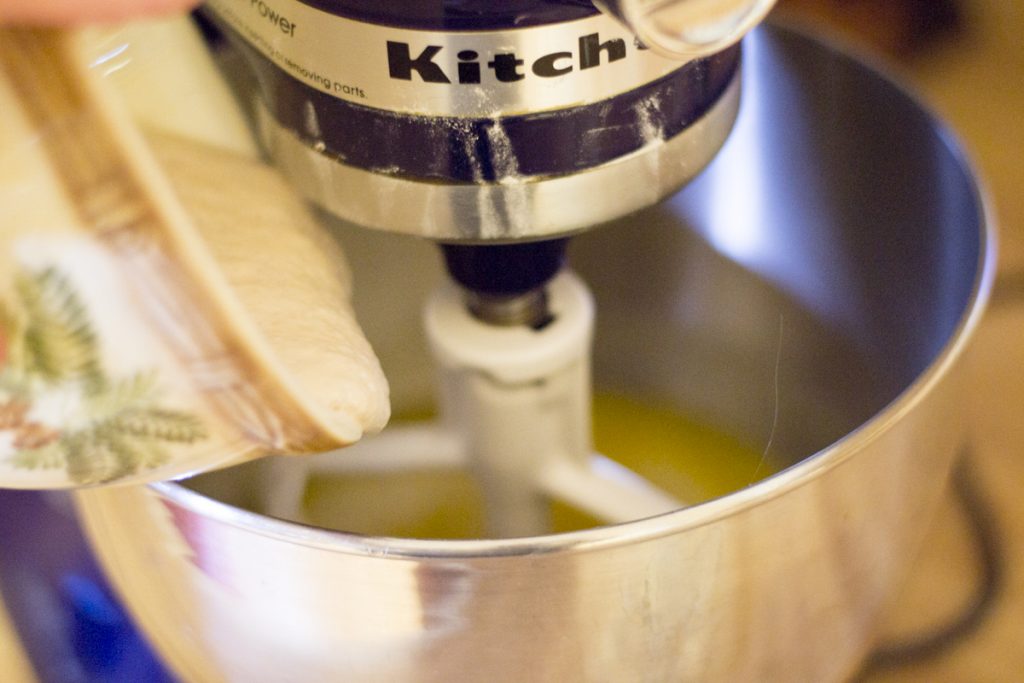
Once blended together, add the flour, one cup at a time. Scrape the sides of the bowl once all flour is added and then blend on high for a few seconds one last time. The dough will be fluffy and soft. If it is very sticky, add a little flour and mix with hands. I like to just add bits of flour as I make the dough balls.
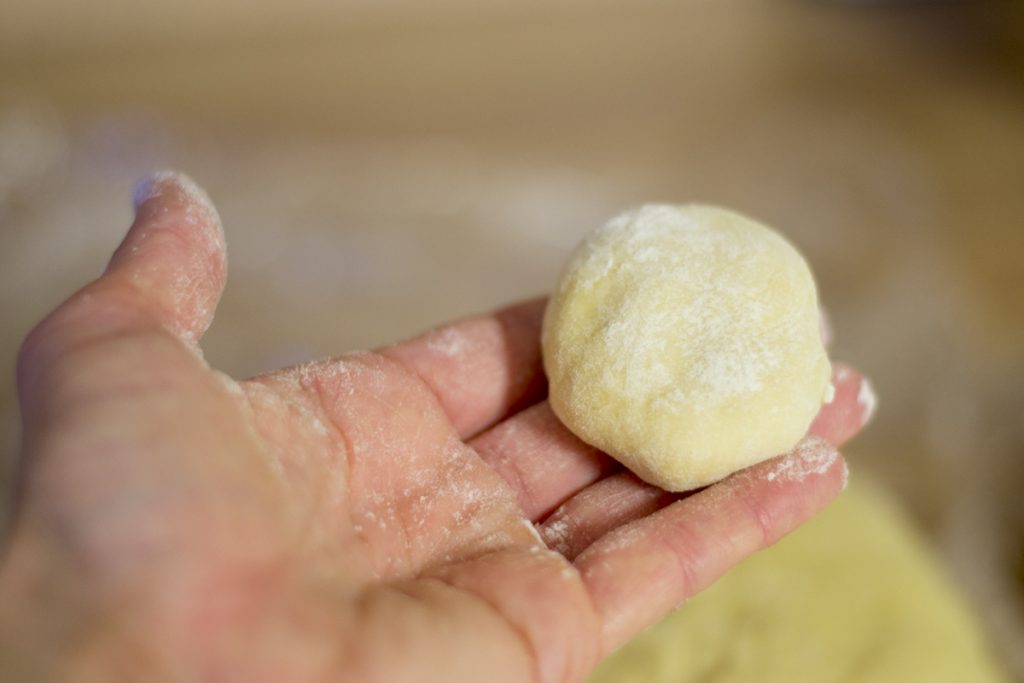
Turn out onto a flour surface. Roll pieces into 2″ balls as shown below, just as you would with meatballs, and lightly coat with flour. No need to knead!!
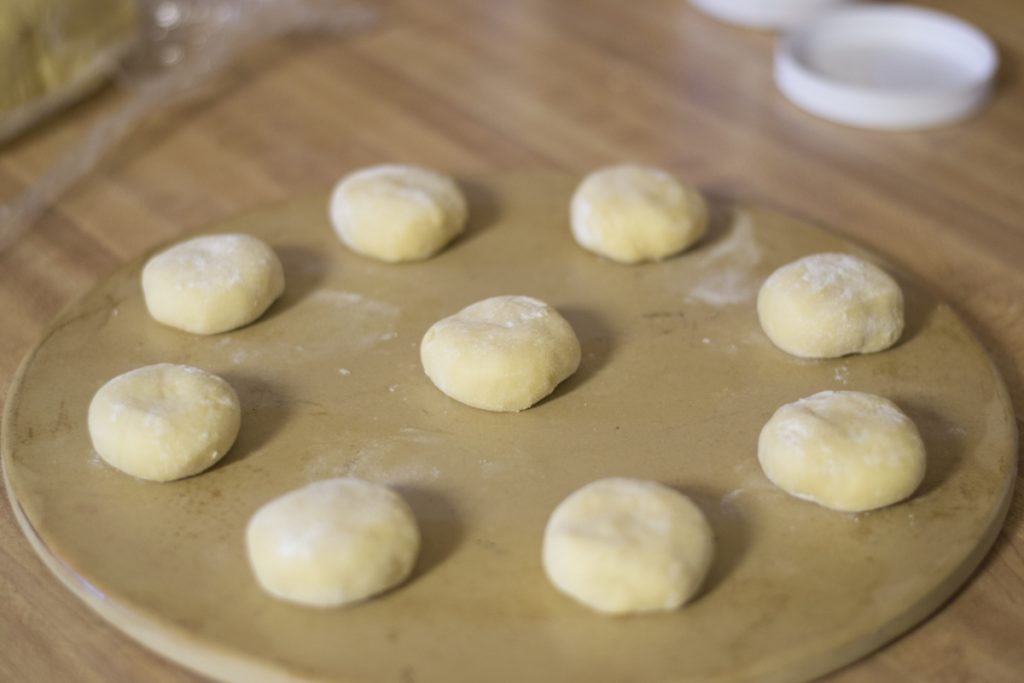
Place onto lightly greased stone, leaving generous space between rolls. I press them down a little when I put them on the pan. You can put them close together if you’d like. This is totally optional.
Cover with kitchen towel and place into the oven with the light on. Let rise until they are about doubled in size. If you warm up your oven first as mentioned earlier, they will rise faster (about an hour).
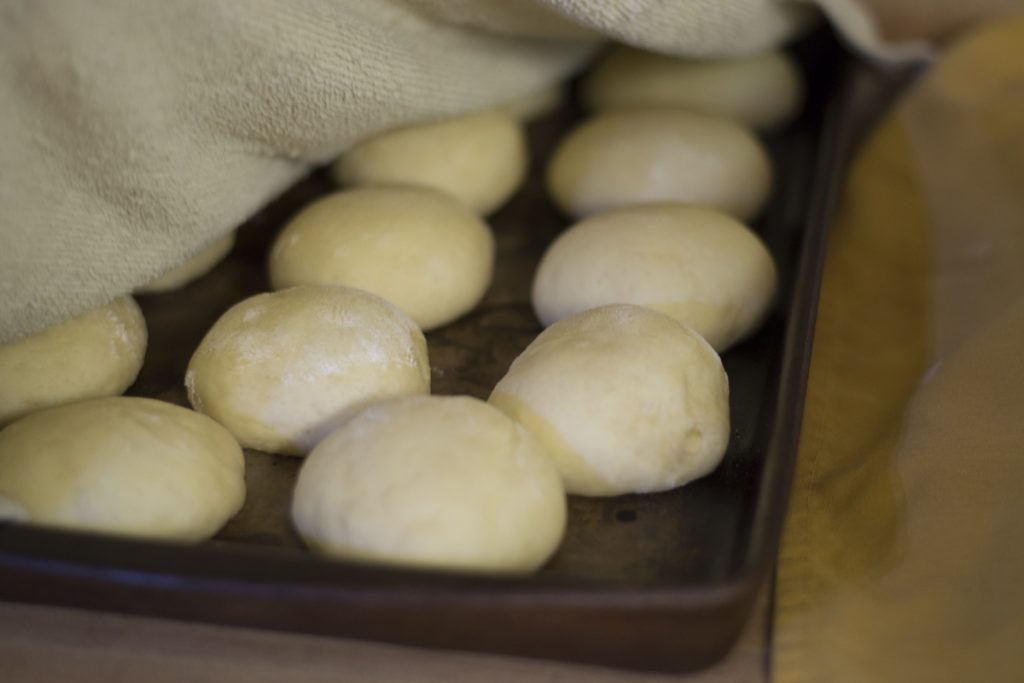
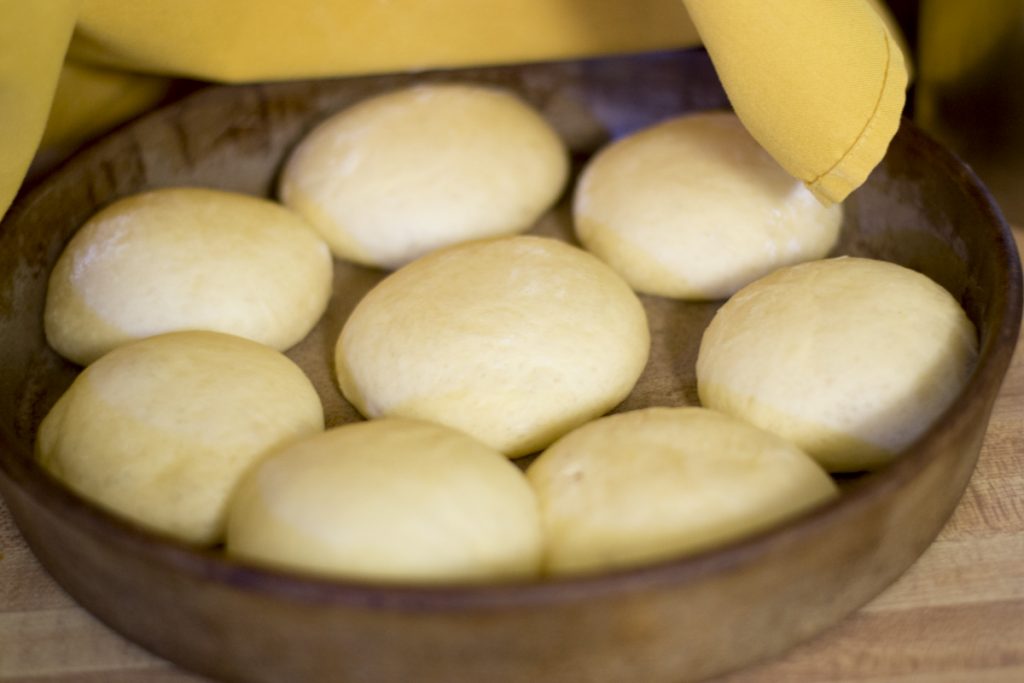
This is the mistake I made the other day: I let them rise longer than normal. The longer they rise, the less dense they will be (and the more airy they will be). But if you let them rise longer, I figured out that they do not need to bake as long! I baked them the normal time, and they were DELICIOUS once they were done, BUT I find that they were a little dry once we brought them to the party (6 hours later). The husband still approved, but I’m a little bit of a perfectionist [sigh].
These rose to the normal size…
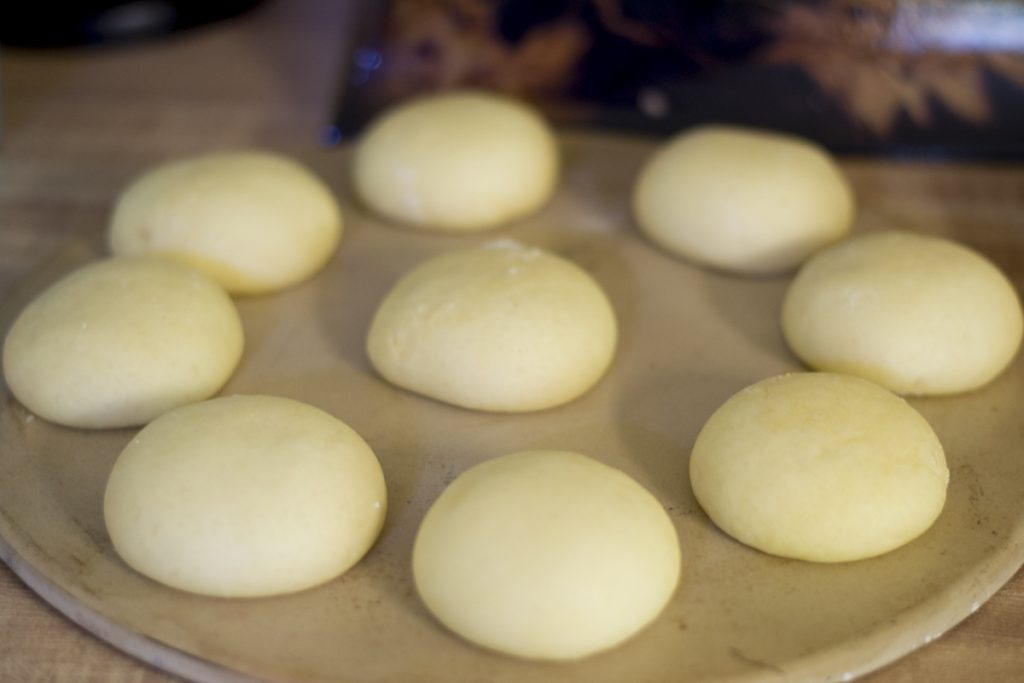
And these were much bigger! …
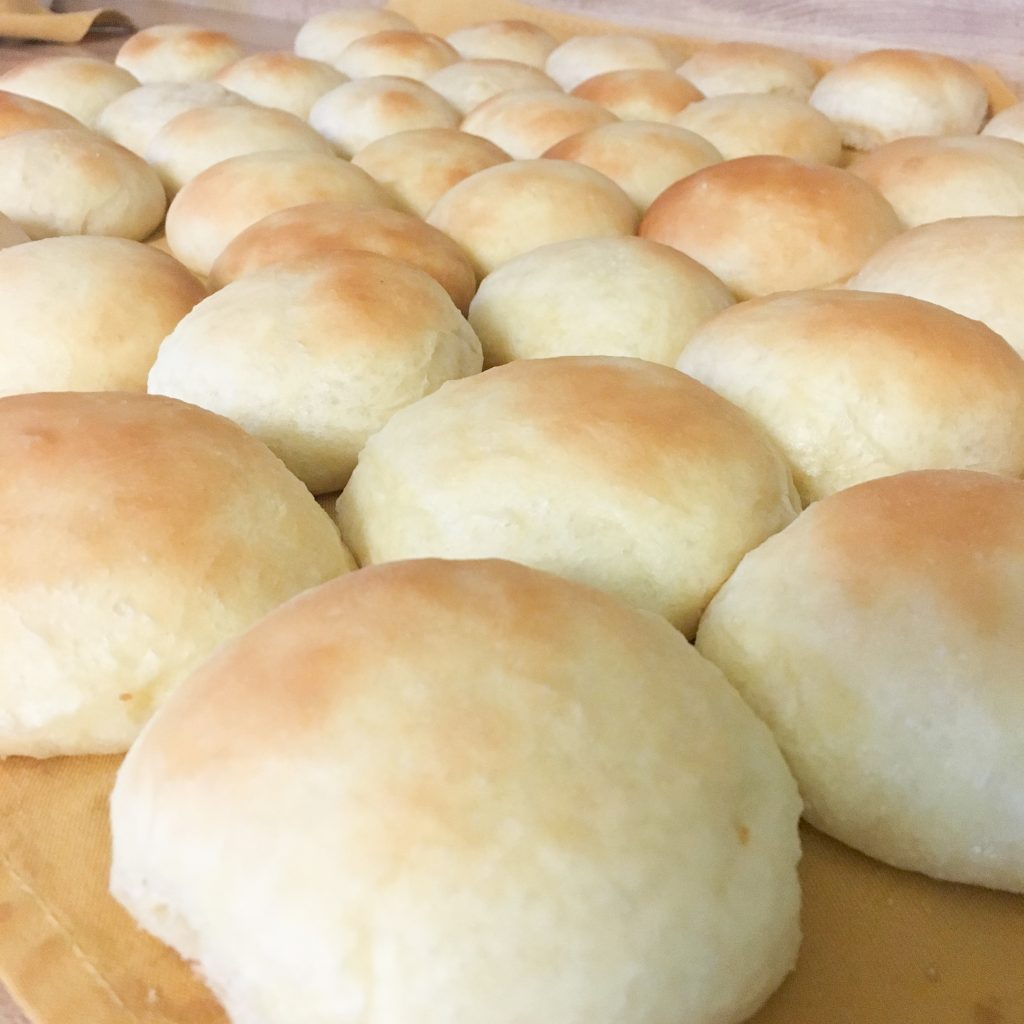
Bake in a 400°F oven for about 8-10 minutes. Take them out before they get brown! Right when they begin to darken, they will most likely be done. I always cut one open and sample! Brush with butter once done!
I let them rest on the pan for a few minutes before I slide them off with a spatula. They are BEST served warm (as is any bread!).
They should look something like this…
When I baked another batch later from the same dough, I let them rise big, and then baked them for about 7-8 minutes, and they came out like this…
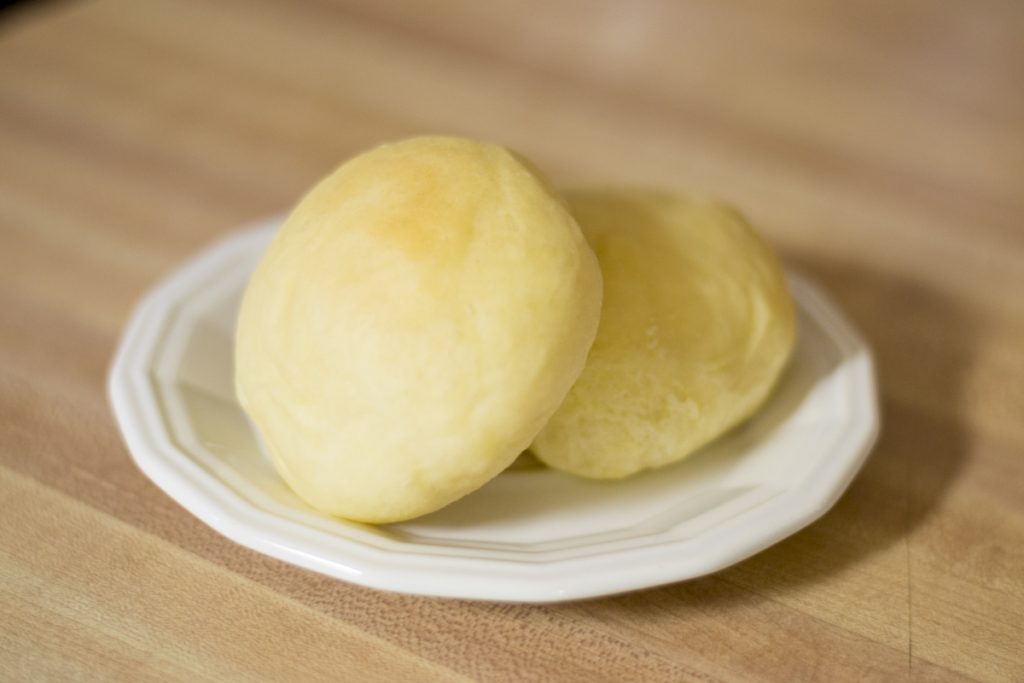
And they were still super soft and moist after they were cooled. They actually kind of reminded me of really soft and moist sandwich bread. They were borderline under-cooked, and I wasn’t sure if they were still raw. But, when I ripped a few open and had the family sample, they were fine! Perfect!
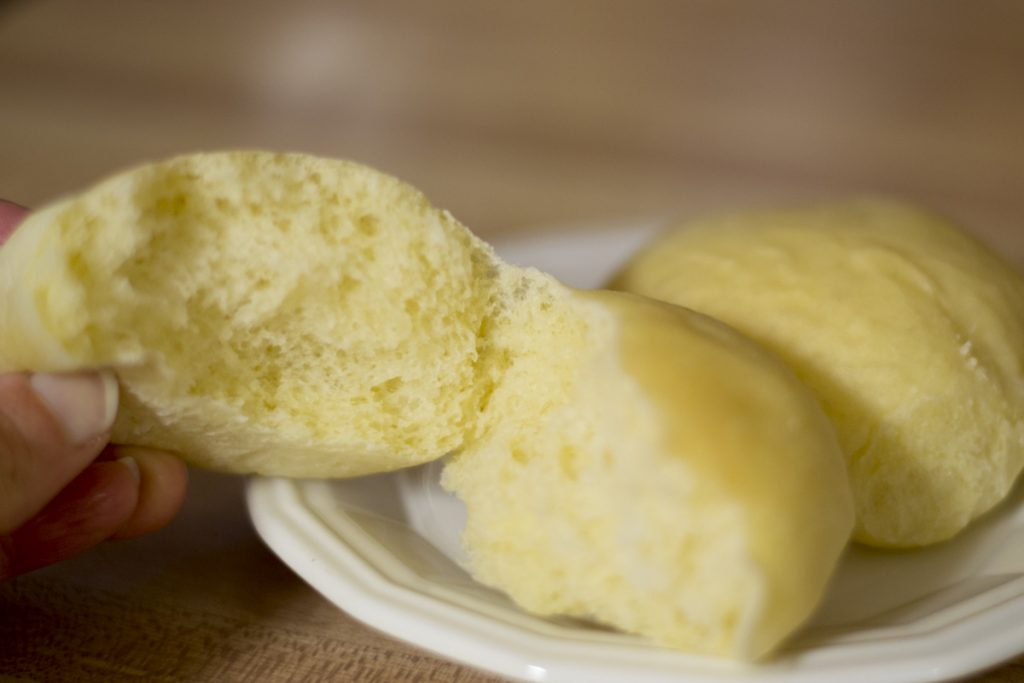
I hope you enjoy these as much as we do!
TIPS: I have a friend who has made these, and after rolling the dough into rolls, she froze them on a pan, then transferred to a freezer bag once frozen. When she is ready to let them rise, she simply takes out how many she needs and puts the frozen rolls out on the baking dish just like if they were freshly made. Bake them once they have risen.
If you decide to make your dough a day or so before you rise them and bake them, wrap loosely in plastic wrap to give room for rising in the refrigerator! One time, I wrapped them like you would wrap anything in plastic wrap (tightly), and they busted RIGHT through that wrap! Oops! Make sure to leave room for that rise, because it will bust right through anything.
If you have any trouble at all, or any questions or comments, comment below!
Want to see more like this? Follow on Pinterest! CreativeCajunMama


** In order to PRINT a printable version from the “Print” link below, this page must be open in an internet browser such as Safari or Firefox. It may not print if opened in Instagram or Facebook.
Ingredients
- 0.25 oz Yeast (1 packet or 2 1/4 tsp)
- 1 tsp Organic Sugar (or Honey)
- 1/2 cup warm Water
- 1/2 cup Butter/Coconut Oil
- 1 cup Water (room temp)
- 2 Large Eggs
- 1/2 cup Organic Sugar
- 1 tsp Salt
- 5 cups organic/nonGMO All-Purpose Flour
Instructions
- In a glass bowl, blend together the yeast and 1 tsp organic sugar (or honey), and add 1/2 cup warm water with a little stir to mix. Let this mixture sit while mixing together the other ingredients (about 10 minutes).
- Melt the butter (or coconut oil) on the stove (about 5 minutes), turn off heat, and mix 1 cup of room temp water into the melted butter.
- In the mixer with the paddle attachment, mix together the eggs, 1/2 cup of sugar (or honey), and 1 tsp salt.
- Add to the mixer – the butter and water mixture, and the yeast mixture (that should be bubbly and rising).
- Once blended together, add the flour, one cup at a time. Scrape the sides of the bowl once all flour is added and then blend on high for a few seconds one last time. The dough will be fluffy and soft. If it is very sticky, add a little flour and mix with hands.
- Turn out onto a floured surface. Roll pieces into 2″ balls just like you would do with meatballs, and lightly coat with flour. No need to knead!!
- Place onto lightly greased stone, leaving generous space between rolls. I press them down a little when I put them on the pan.
- Cover with kitchen towel and place into the oven with the light on. Let rise until they are about doubled in size. If you warm up your oven first on low for a minute before placing into the oven to rise, they will rise faster (about an hour). Make sure the oven is not hot, just slightly warm (about 100°F).
- Bake in a 400°F oven for about 8-10 minutes. Take them out before they get too brown! Right when they begin to darken, they will most likely be done. I always cut one open and sample! Brush with butter once done!
Notes
The dough will keep up to 5 days in the refrigerator.


